Still have a question? Ask us.
Recording your screen and Discord audio at the same time is a piece of cake with Screenflick.
By default, Discord's audio will be recorded by Screenflick, but if you've changed the Discord audio output device (for example, to your headphones) you'll need to change that setting again. Inside Discord's settings, simply select the "Default" value for the "Output Device" setting in "Voice Settings". To get Discord to play audio out to your headphones, select your headphones from the audio settings in your Mac's "System Preferences".
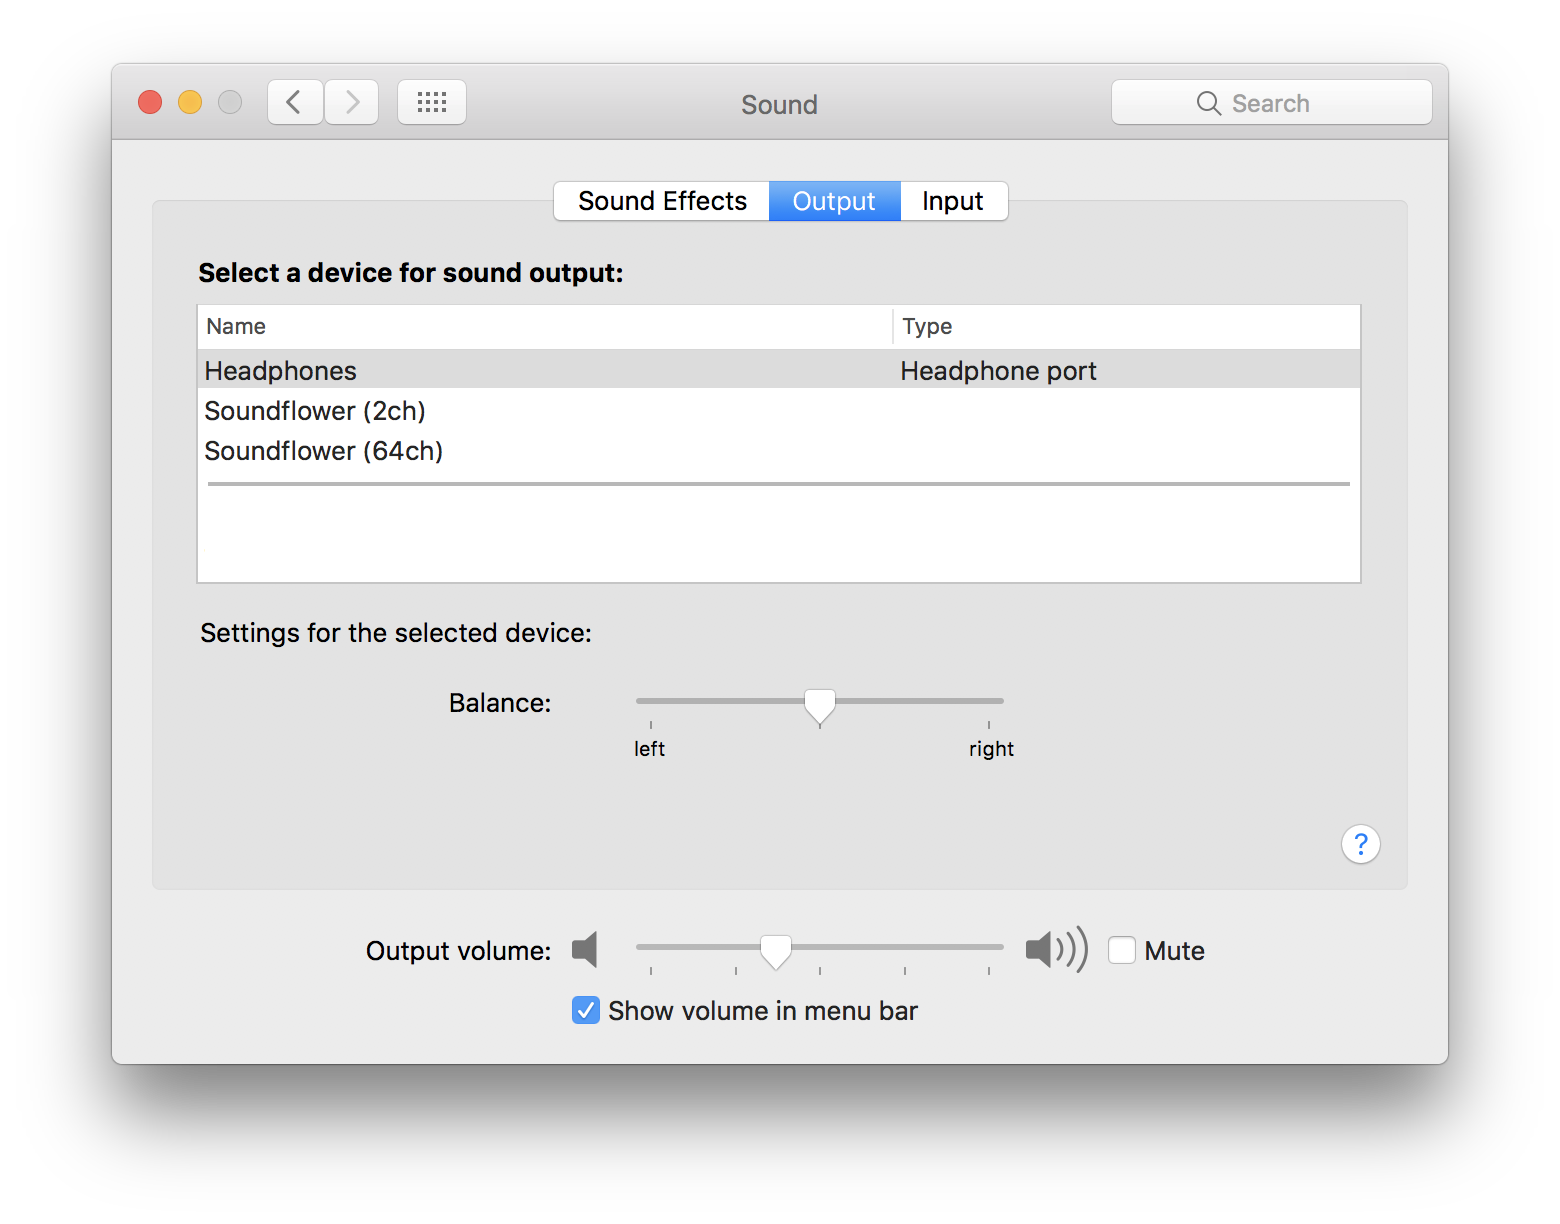
In System Preferences → Sound → Output, select your headphones so the other chat participants' voices don't get picked up by your microphone.
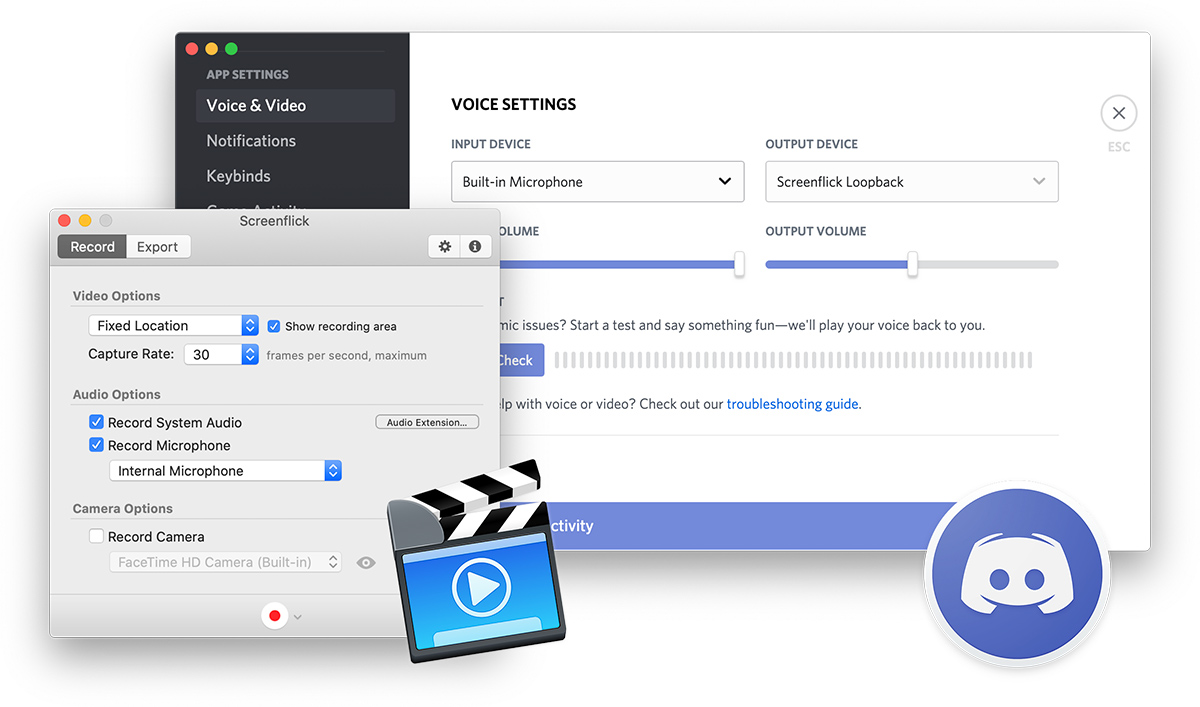
In Discord → Voice & Video, select "Screenflick Loopback" as the Output device. Note: After changing this setting, you will not hear any audio coming from Discord UNTIL you start a recording in Screenflick. After you start the recording, you will hear everything just fine.
Most users will also find that simply selecting "Default" instead of Screenflick Loopback will also work properly, and requires no changing of the settings when recording, but selecting Screenflick Loopback is the surefire way to know it will be recorded.
Lastly, Inside Screenflick, select your microphone device and turn on recording System Audio as well.
After you start the recording you will hear everything as you expect, and you can even check in Screenflick's global menu in the right side of menubar and see the audio level indicator changing as you and others chat in Discord, to know that audio is being recorded.